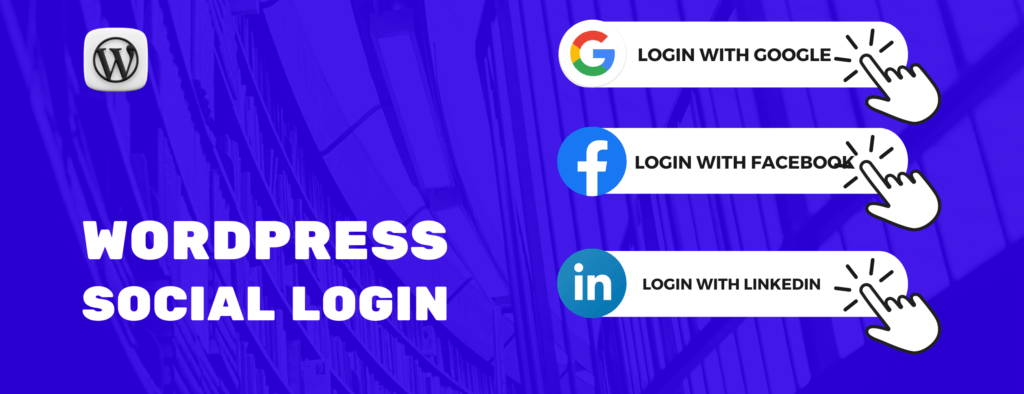
Imagine this: You’re running an Elementor-powered website, and you want your visitors to log in with ease. No more remembering passwords or creating new accounts. You want your users to do something fast and simple. Turn to Happy Social Login. This tool made it super easy for your visitors to log in with just one click using their Google account.
In this guide, I’ll walk you through step by step on how to add a “Continue with Google button” to your Elementor site. Let’s dive in.
Why Add Google Login to Your Elementor Site? #
We all love things that make life easier, right? That’s exactly what Google Login does for your site. Imagine your visitors logging in with just one click, using an account they already have. No more creating usernames or passwords. No need to sign up first then verify it and then again login. Uhhh.. Takes at least 7 mins of user. On top of that if your email system server is bit slow, your user doesn’t get a verification email soon. Unfortunately, he/she might need to leave, and you lose a potential lead.
For me, Adding login with Google using Happy Social Login made a big difference. My bounce rate dropped, and I saw more people coming back. Why? Because it was easy for them. They didn’t have to go through the hassle of creating a new account. And guess what? That’s what your visitors want too.
Setting Up Google Login with Happy Social Login #
Before we start, make sure you have the Happy Social Login plugin installed on your WordPress site. If you haven’t, let’s install it first.
1. Install Happy Social Login For Elementor Plugin #
- Go to your WordPress dashboard.
- Click on Plugins > Add New.
- In the search box, type “Happy Social Login.”
- Install and activate the plugin.
If you need Happy Social Login Pro, you can buy it from here
2. Enable Google Login #
Now, the plugin is ready to help you. We can straightly jump over to Provider section on the Happy Social Login settings page and Enable Google there as shown in the image below. Providers means the Social Media Accounts like Google, Linkedin, Facebook etc through which users will be signing up to your Elementor site.

Once you enable the provider, you should see the Api settings form. There you need to paste the Google Authentication client id and secret code.
3. Get Client ID and Secret from Google Cloud. #
Now, you’ll need to create a Google Cloud app to get your API keys. Don’t worry, it sounds more technical than it is. Here’s what you need to do :
Step-1 Go to Google Cloud Console and Create a New Project. Give your project a name e.g your site name and hit on create button.

Step-2 Once your project is created, you need select it manually.

Step-3 Now go to Menu -> Api & Services -> OAuth consent screen

Ste-4 Put some necessary information like your App name (Usually your website name), Email, Logo etc. Authorized domain is an important one, make sure you have put your website address here. And hit Save and Continue.

Step-5 Go to Credentials -> Create Credentials -> Oauth client Id

Step-6 Choose Application type to Web application, Name: you can put anything, Authorized javascript origin : Your domain name.
Authorized Redirect URI is an important setting, put https://yoursite.com/sso/google. Make sure you replace yoursite.com with your domain name, and don’t forget to add /sso/google as shown on image and hit create button.

Step-7 You will see a popup containing ‘Your Client ID’ and Your Client Secret.’ You will need to paste these keys into the plugin’s settings page back in your WordPress admin area.

4. Paste the Client ID and Secret #
Paste the client id and secret that you got from previous step and click on verify. If everything is perfect, you will see a successful message “Settings verified” with a detailed information about your profile fetched from Google.

5. Enable Elementor Widget #
Go to Integration -> Elementor -> Enable it. Once enabled, you should be able to see a Social login widget on your Elementor editor.

6. Prepare Login Page #
Add a new page or popup in WordPress. Maybe you can make it’s permalink to yoursite.com/login Edit it with Elementor to launch Elementor Editor.

7. Drag and Drop Social Login Widget. #
To add a social login widget to your Elementor site, first search for “Social Login” in the Elementor search bar. Once you’ve found the widget, drag and drop it onto the Elementor canvas area.

8. Design your Social Login Page #
Once you drop the Social Login widget, you’ll see three social media accounts by default: Login with Google, Login with X, and Login with Facebook. You can add more or remove a few from the list. Just make sure you’ve enabled those providers in the Happy Social Login settings page in your WordPress dashboard.

9. Test Your Google Login #
Now that your Elementor login page is published, it’s time to test it out.
- Log out of your WordPress account or open an incognito window.
- Go to your login page (e.g.,
yoursite.com/login). - You should see the login page with a “Continue with Google” button.
- Click the button, and you’ll be redirected to the official Google login page.
- Enter your Google email and password.
- Once successful, you’ll be redirected back to your WordPress site.
- A new user will be automatically created in your WordPress Users table, and the user will be logged in.
Conclusion #
Adding Google Login to your Elementor site with Happy Social Login is a great way to simplify the login process for your visitors. It enhances user experience, reduces bounce rates, and can even increase conversions by making it easier for people to sign in. With just a few steps—setting up the Google Cloud API, configuring the plugin, and adding the login button through Elementor—you can give your users the convenience they crave. It’s a win-win for both you and your audience!